
Publié le
How to build a shed
Planning on building a shed? Check out this helpful walkthrough!
Staring out onto our snow-draped lawns, many of us are daydreaming about DIY projects after the thaw. Often, replacing or building a shed is high up on the list. A quality outdoor storage space or workspace makes the summer months all the brighter. And while building a shed certainly takes some patience and smart prep, a DIY shed project is certainly feasible. In fact, we’ve got some handy tips for you on how to build shed.
Knowing how to build a shed means knowing how to plan
It all starts with a plan. The more prep that goes into building a shed, the easier your DIY project pans out. But before you put pencil to paper, you must understand certain project limitations and permit logistics.
Determine if a permit is required to build a shed
Recently, we published a post covering the ins and out of acquiring a permit for building a shed or prefab garage. The short of it is that depending on your city, there are potential size, material, and location limitations, as well as the possible need for a building permit. Consult with your city’s website or speak to a specialist before committing to a design.
If it turns out you don’t need a permit, let’s get to designing. And if it turns out you do, remember that a detailed plan is required as part of your application.
Planning your shed
Now that you have a better understanding of project limitations and permit costs, you can get to planning your shed. Ideally, this shed will last you season after season, so don’t just think about what you want today. Hoping to transform it into a workshop eventually? Consider the electrical logistics you’ll have to contend with down the road.
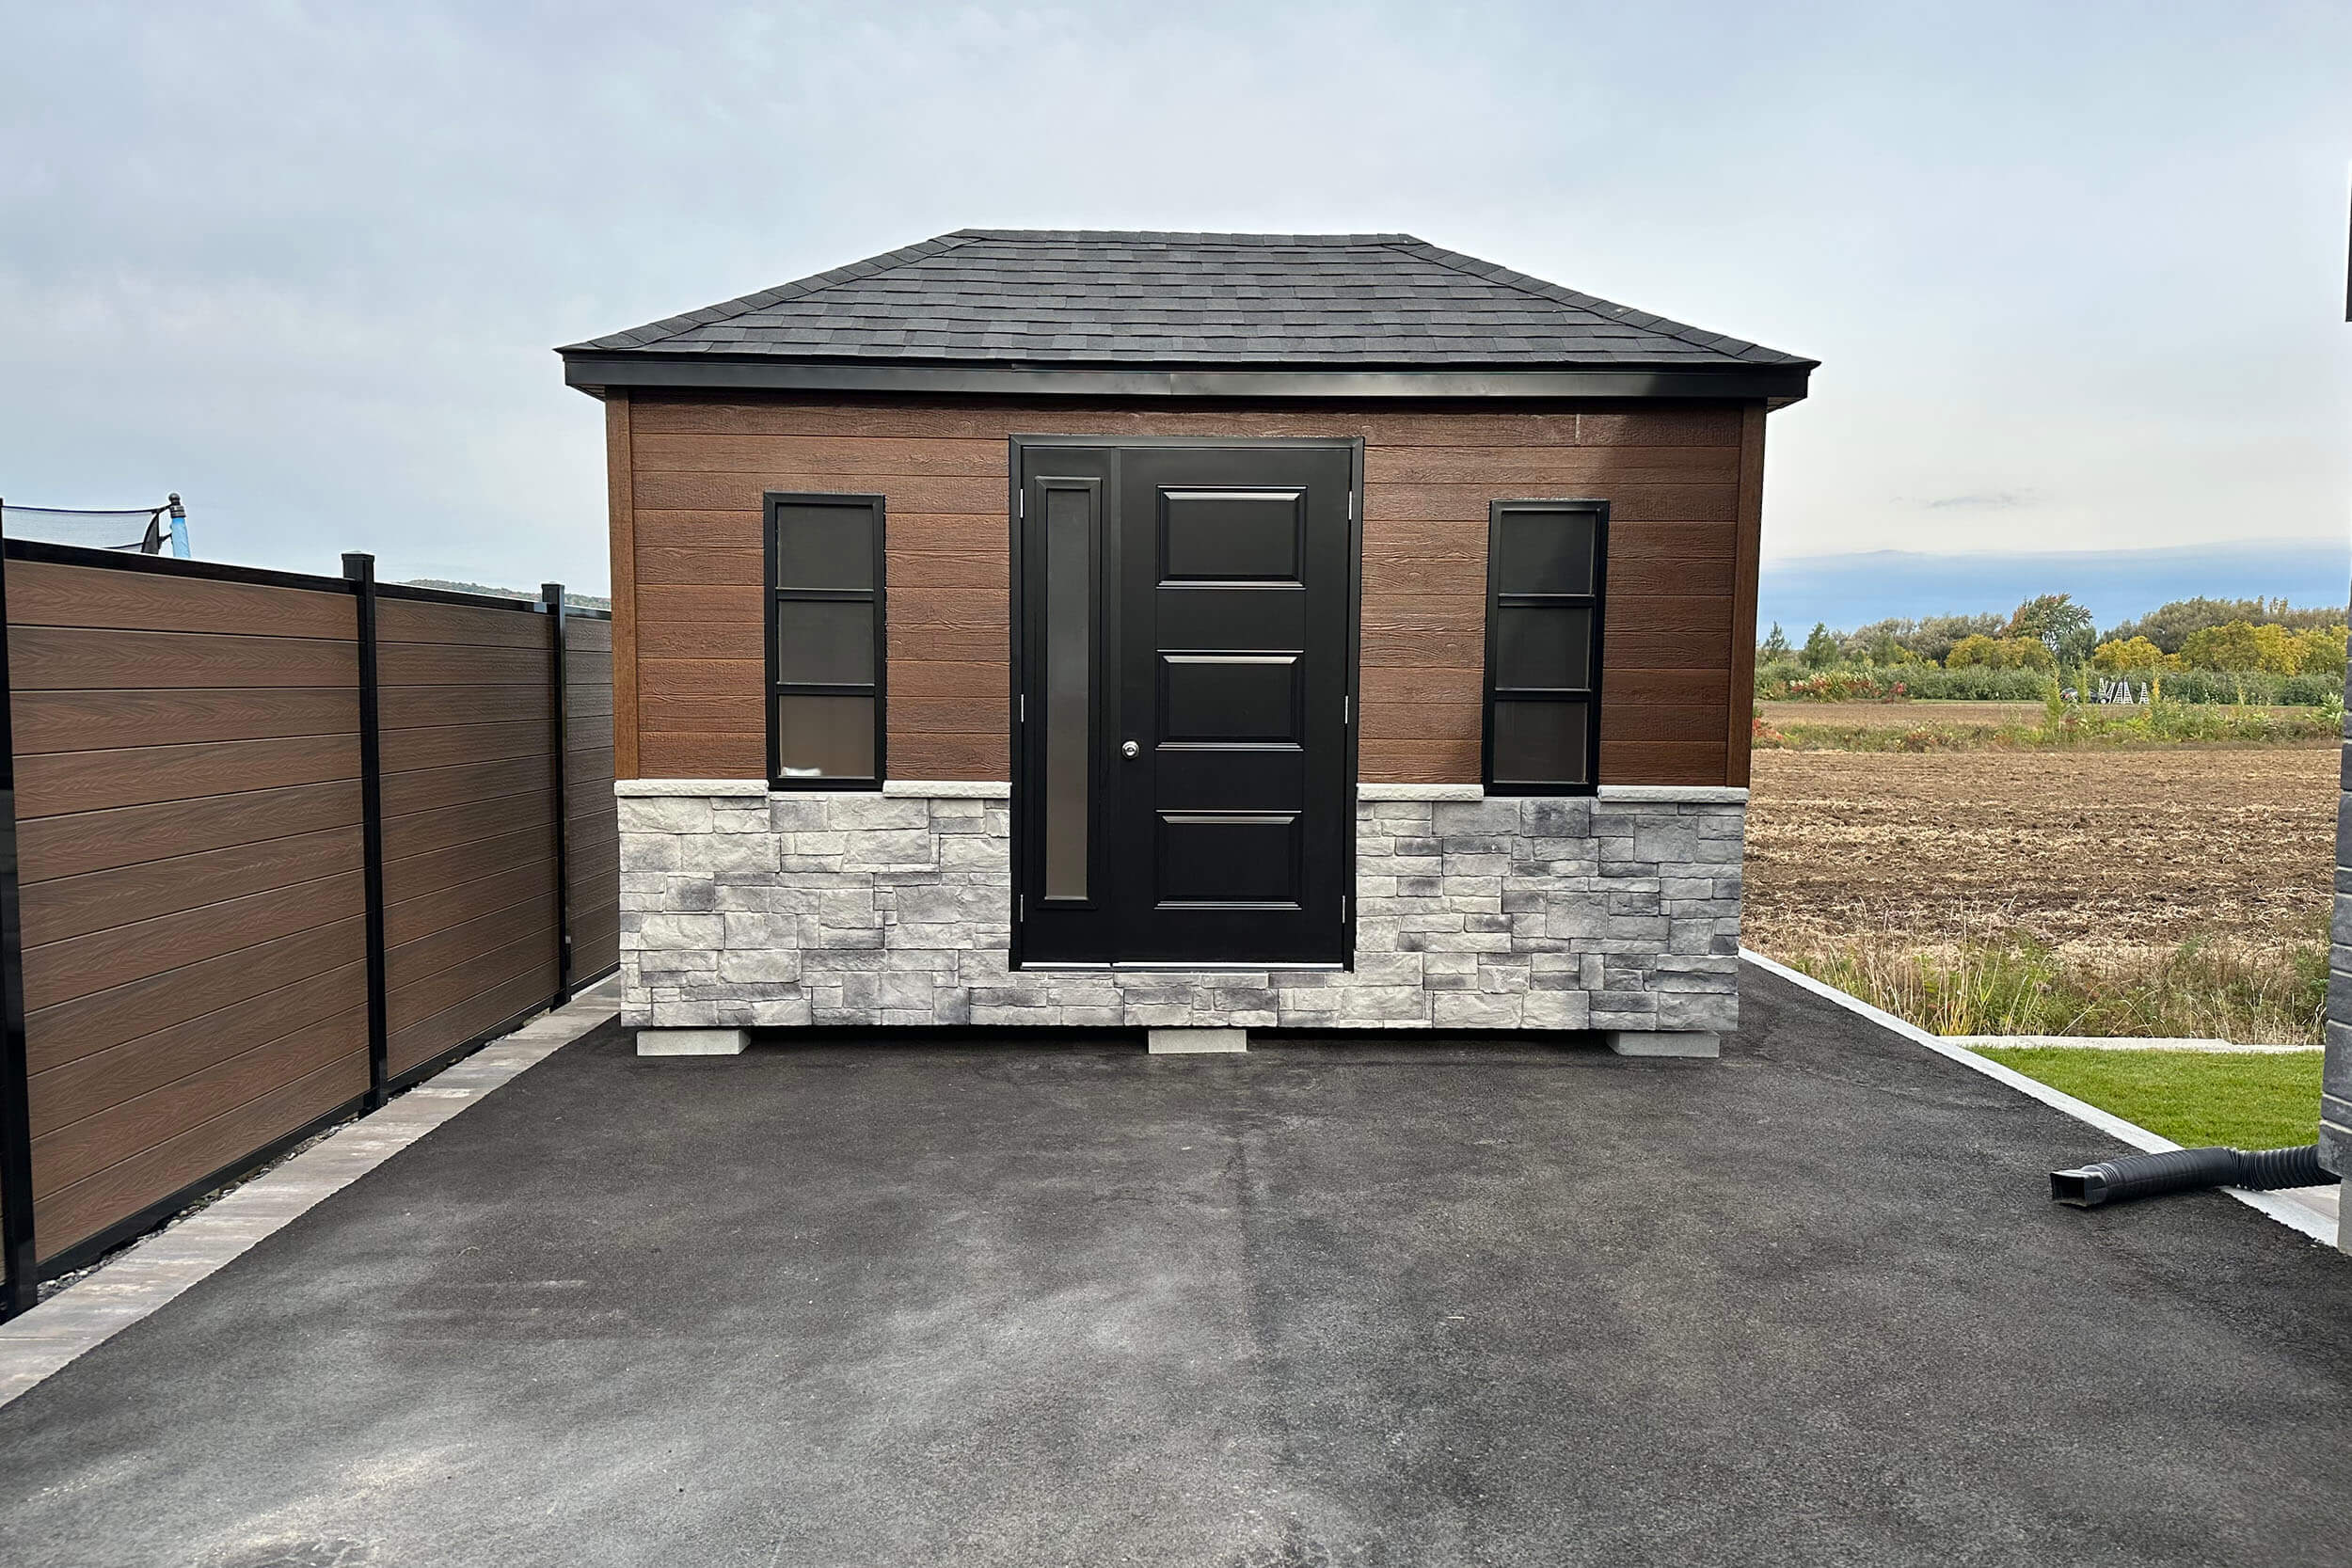
When determining how to build a shed, you need to assess whether you want to construct it with raw materials or opt for a prefab model. It’s worth noting that today’s prefab sheds and garages are highly customizable, giving you the freedom to install a structure that’s truly your own.
Tools needed for building a shed
Almost there! But before laying the foundation, here’s a very basic checklist of tools you’ll likely need for the job:
- Essential carpentry tools: hammer, tape measure, levels, chalk reel, handsaw, pry bar, etc.
- A cordless drill
- An impact driver
- Either a table saw or a portable circular saw
How to build a shed in 7 steps
This isn’t the authoritative “how to build a shed” guide. Indeed, there are many different approaches to building a shed. What follows is simply a general overview of what the average project might entail.
Step 1: Leveling and building your foundation
Try your best to find a location without a slope. If there is a slope, ensure it’s less than 6”. Measure and, if necessary, level the ground. Next, install your deck piers in a grid formation.
Step 2: Adding support beams
Once your deck piers are installed and measured, you’ll string support beams across them lengthwise. Use metal straps to hold them in place.
Step 3: Installing joists
Begin by installing your rim joists on the outer edge. They should measure the same as your beams. Next, install your floor joists, which must be measured to fit in between your rim joists.
Ensure the floor joists are separated evenly except for the two closets to the rim joists. The gaps between these joists should be ¾ inch closer to support your plywood floor properly.
After installing the joists, add blocking along the center support beam.
Step 4: Installing the plywood floor
Affix your plywood floor to the joists using nails or deck screws. What’s crucial here is that you avoid creating a single seam running through the flooring.
For instance, if your shed measures 12’x4’, use three 4’x8’ plywood pieces with two of them placed full length on opposite sides, so they overlap. The third will then be cut into two 4’x4’ pieces, each half used to cover the remaining gaps.
Step 5: Setting your four walls
When creating the framework for your four walls, you must account for more than just the door and windows. Provided you’re designing a flat roof, ensure that the front wall is taller than the back, creating a slope that directs rainwater away from the door.
When creating the framework for your sidewalls, remember that each vertical stud must measure a little differently to account for this slope. There are many online tools to help you calculate these measurements. Note that wall structures are commonly nailed from underneath.
Step 6: Installing the roofing
Once the walls are up, you’ll build rafters across the roof and separate them with blocking as you did the joists. Afterward, nail the plywood roofing to the rafters.
Step 7: The final touches
Now that the structure is complete, you can add your door, windows, and siding. When adding tar paper to the roof, start from the bottom of the slop and work your way upward.
The benefits of building a prefab shed
When it comes to building a shed, a few approaches can save you time, money, and lots of headaches. As we mentioned, a prefab shed makes your DIY project all the easier. For one, you won’t need any tools apart from your essentials. Secondly, when you purchase your shed from a trusted supplier, it’s easy to find a model that’s totally aligned with your municipality’s guidelines, taking all the guesswork out of the equation.
And Cabanons Mirabel sheds make things even easier with their adjustable floor jacks. Thanks to the patented design, they eliminated the need for digging and leveling.
To learn more about how to build a shed the prefab way, reach out to experts. They’ll be happy to walk you through the process!