SECURE YOUR 2026 INSTALLATION NOW! *
Learn more

Mon panier
Plus que %s pour recevoir un cadeau
Votre panier est vide
BUILD YOUR OWN SHED OR GARAGE?
It's possible with our DIY kit!
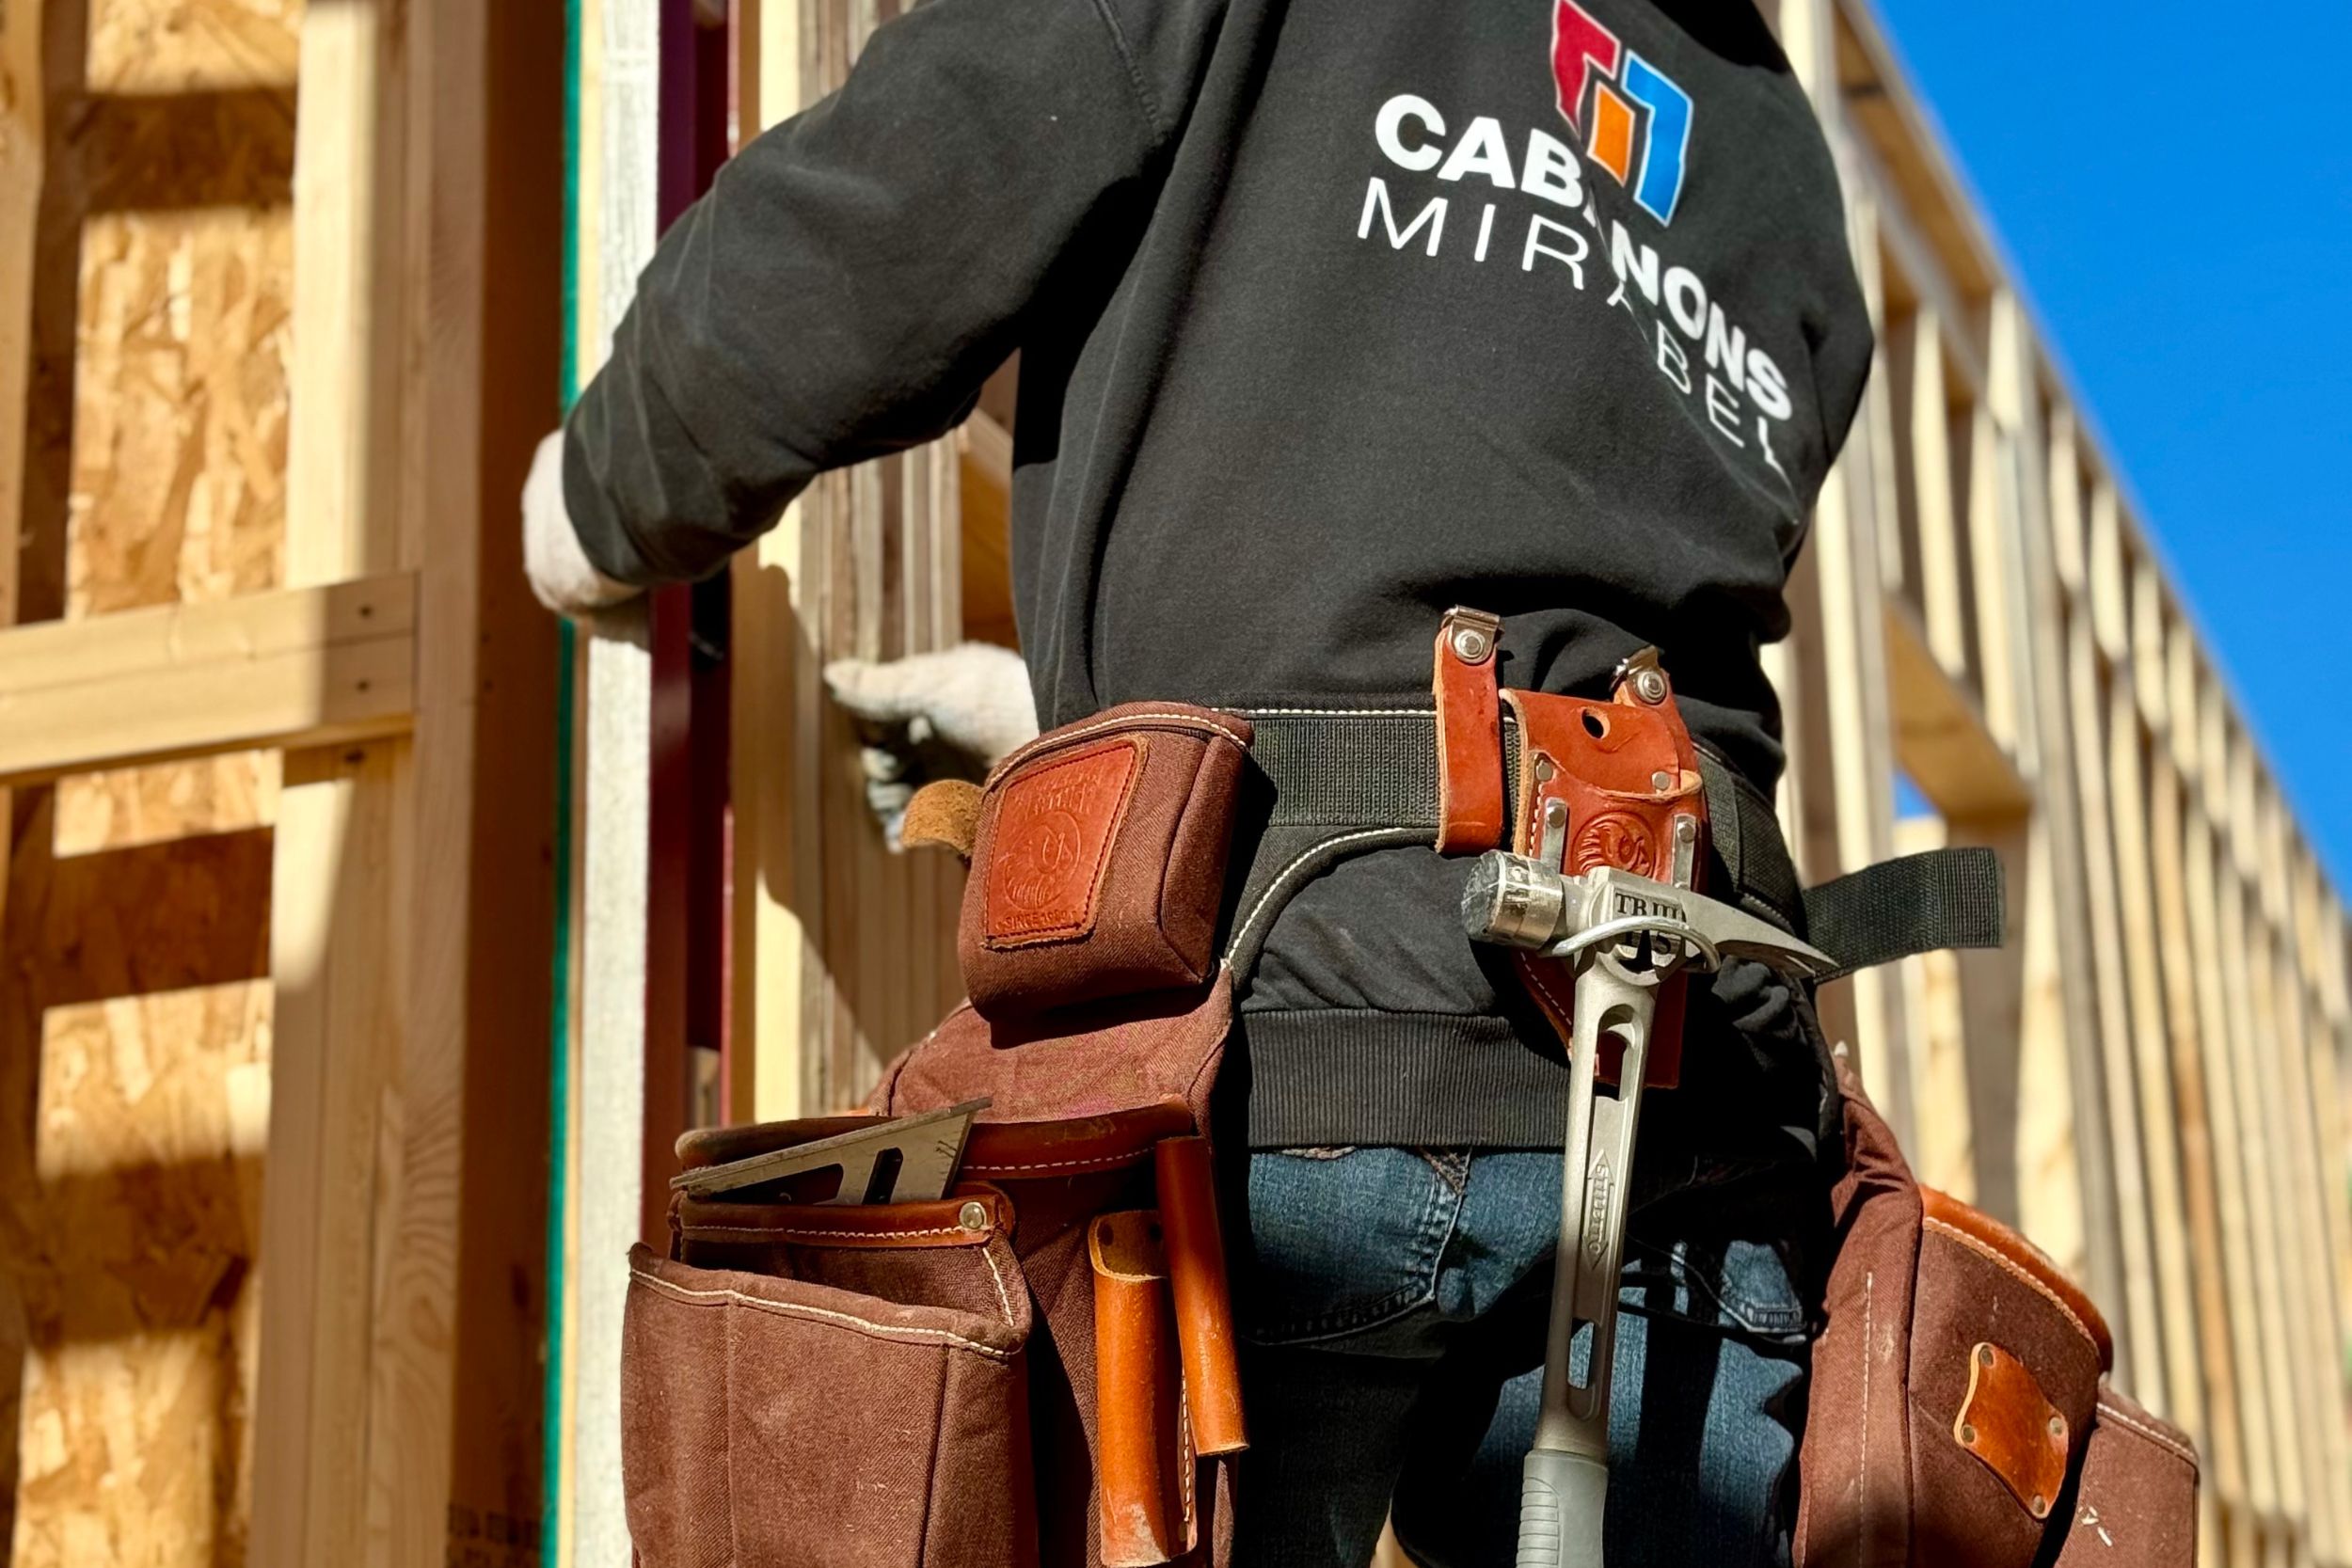
PREFABRICATED GARAGE OR GARDEN SHED KIT
Can you handle a hammer, screwdriver and level? You can build your Cabanon Mirabel yourself!
Our prefabricated garage and garden shed kits are aesthetically pleasing, durable and save you hundreds of dollars. When we say you can do it yourself, we mean it! Cabanons Mirabel’s prefabricated garage and garden shed kits require little preparatory work.
Of course, it will take a little effort, but you’ll be proud to have assembled it yourself!

IS A DO-IT-YOURSELF PREFABRICATED GARAGE OR GARDEN SHED KIT RIGHT FOR MY PROPERTY?
The only essential requirement to be met before considering the option of assembling your own shed or garage is that the lot slope be less than six (6) inches. When it comes to space requirements, we offer a wide range of affordable, customizable garage kits and prefabricated sheds to suit all lot sizes. Whichever model you choose, installation is simple. It’s (almost!) child’s play!
BUILT TO LAST
Made from the same top-quality materials as all our sheds and garages, our DIY kits are designed to match your home and built to last.
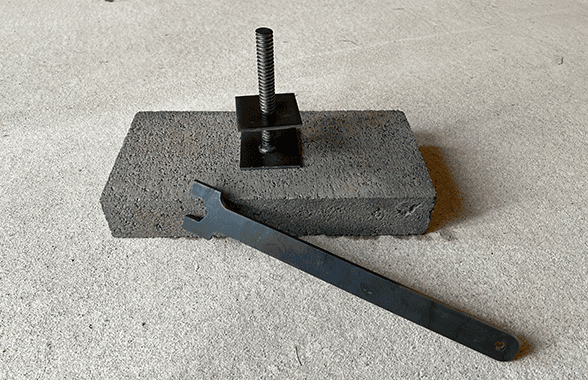
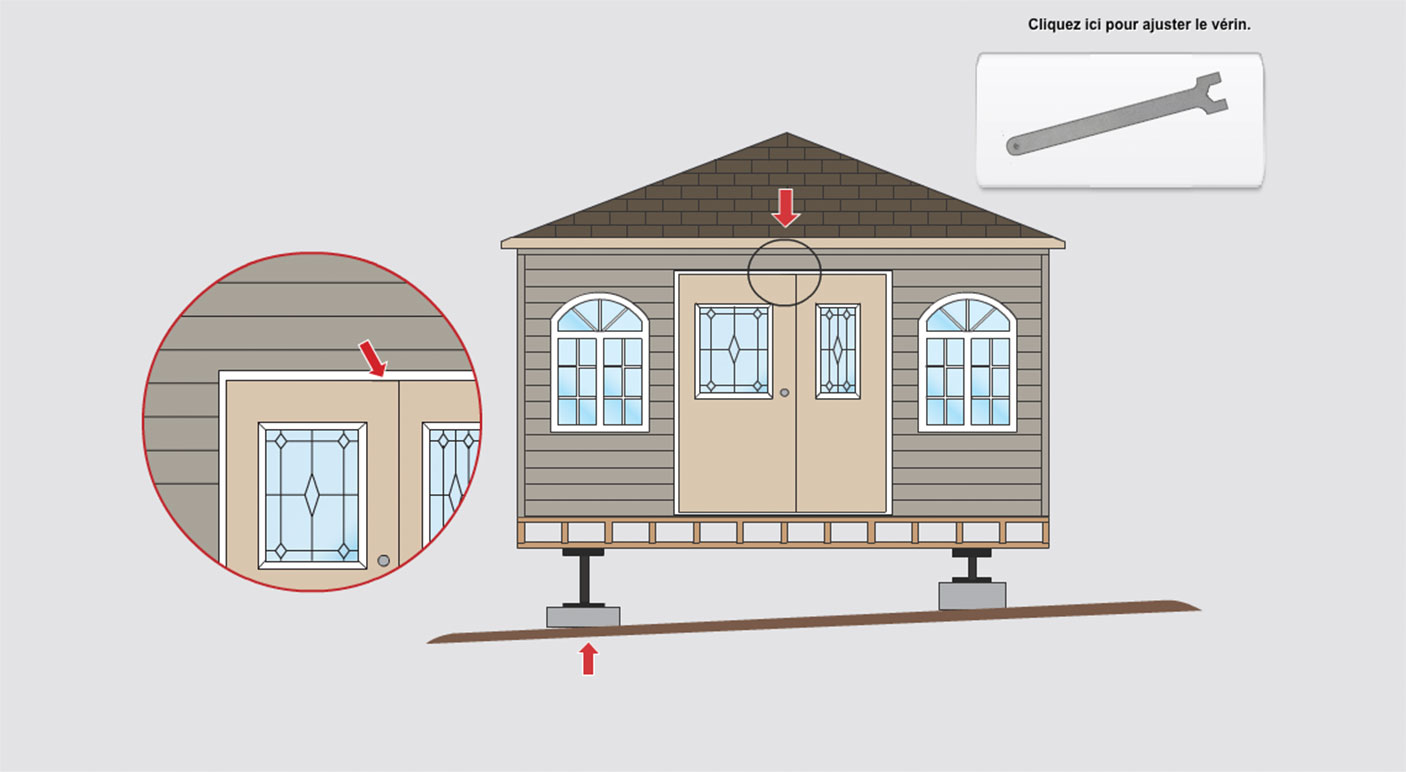
Our garage and garden shed kits all feature the solid wood floors for which Cabanons Mirabel is renowned, and require a minimum of support points. The adjustable support cylinders that keep your construction level are rustproof and will last for generations. Steel doors are made for the Quebec climate and feature three anti-theft hinges to keep your valuables safe.
HOW DO I BUILD MY OWN SHED OR PREFABRICATED GARAGE?
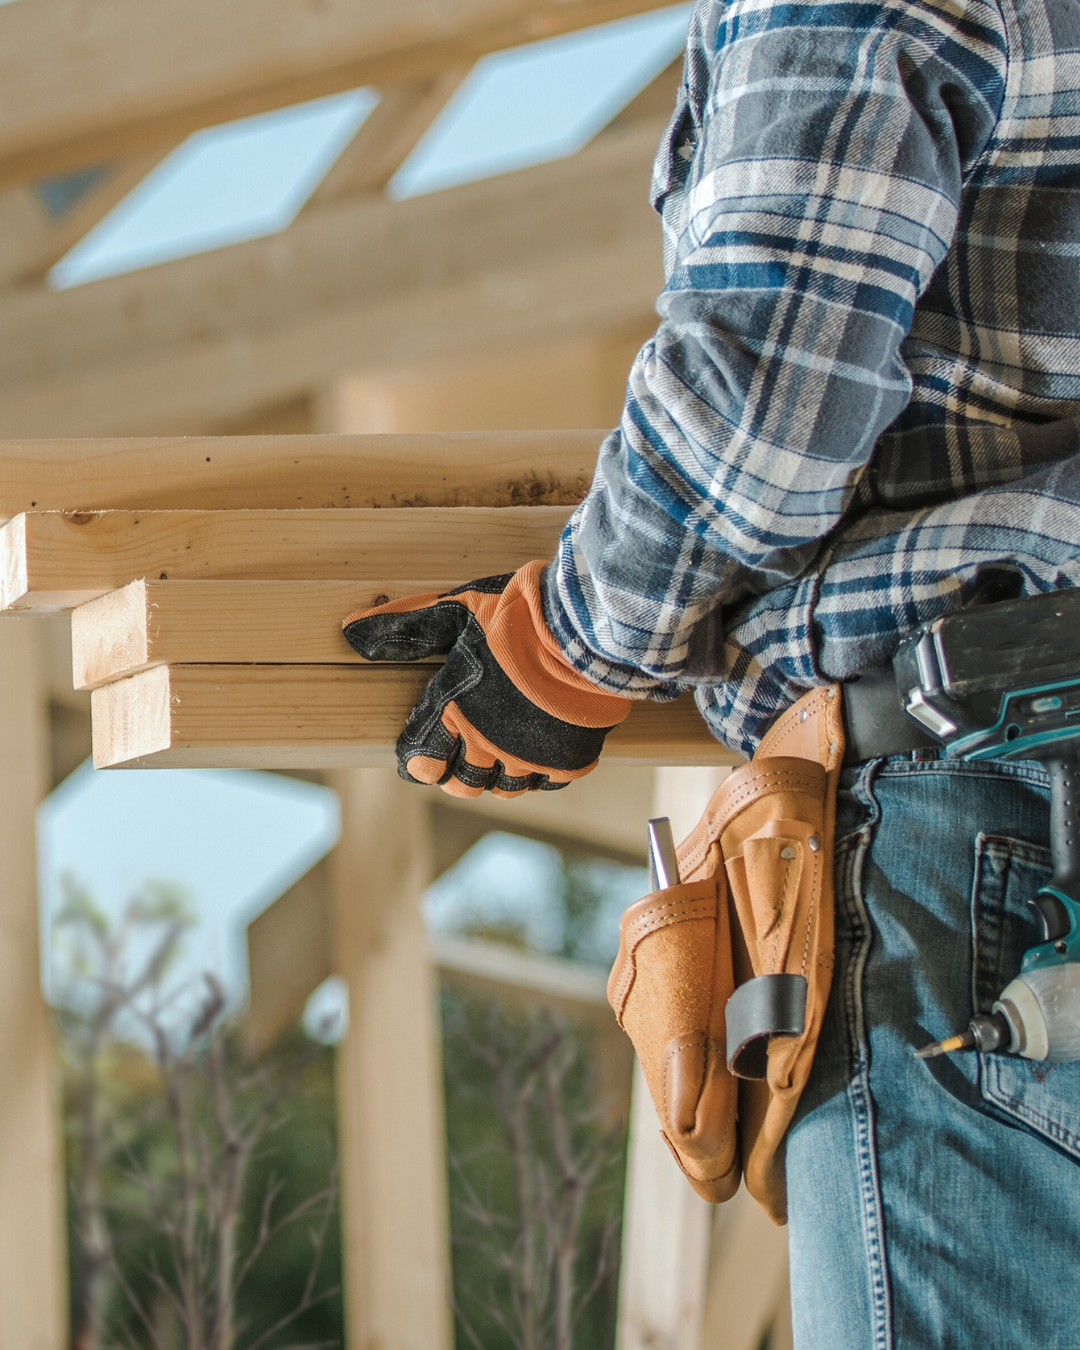
EASY TO INSTALL
Are you handy with a hammer, screwdriver and level? If so, you’re ready to build one of our sheds. Just watch our installation video, which explain everything you need to know, and you’ll be able to build an incomparable garden shed yourself, combining style and durability, while saving hundreds of dollars. If you have any questions about the installation process, please write us or call us. Our specialists are here to help!
INSTALLATION GUIDE
When your DIY kit is delivered, you’ll receive all the specifications and an installation video to help you build your prefabricated garage or garden shed yourself.
DISCOVER THE CABANONS MIRABEL DIFFERENCE
TOP-QUALITY FLOORING IS THE REAL DEAL!
Caractéristiques
- High-quality 2″ x 6″ structure
- Minimal support points required
- High-quality 5/8″ plywood
- Reinforcing stringer equivalent to 2″ x 8
- Adjustable jacks